Laminate flooring is an excellent choice for homeowners looking for a durable, affordable, and low-maintenance flooring option. Not only is it easy to clean and maintain, but it is also available in a wide range of styles and finishes, making it a versatile choice for any home decor.
If you’re looking to install laminate flooring in your home, here’s a step-by-step guide to help you through the process.
Step 1: Prepare the Subfloor
Before you start installing the laminate flooring, you need to ensure that the subfloor is clean, level, and dry. If you’re installing the flooring over concrete, make sure it is fully cured, and test for moisture to avoid any future issues. If you’re installing the flooring over wood, make sure to check for any loose or damaged boards, and replace them as necessary.
Step 2: Measure and Cut the Laminate Flooring
Measure the length and width of the room, and use these measurements to calculate how much laminate flooring you will need. When cutting the flooring, make sure to leave a gap of around ¼ inch around the edges of the room to allow for expansion. Use a table saw or circular saw to cut the flooring to size.
Step 3: Install the Underlayment
Before installing the laminate flooring, you need to install an underlayment to help reduce noise, provide a moisture barrier, and improve the overall stability of the flooring. There are several types of underlayment available, including foam, cork, and felt, so choose the one that best suits your needs.
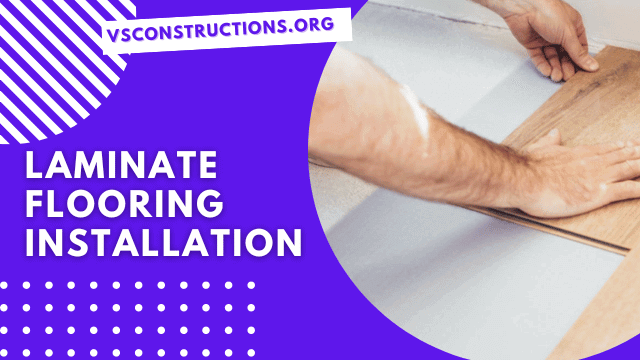
Step 4: Install the Laminate Flooring
Start in one corner of the room, and lay the first row of laminate flooring, making sure to leave the ¼ inch gap around the edges. Use spacers to maintain this gap, and click the boards together using the tongue-and-groove system. Continue laying the flooring row by row, staggering the joints for a more natural look.
Step 5: Install the Baseboards and Trims
Once the flooring is installed, install the baseboards and trims to cover the gap around the edges of the room. Use a nail gun or finishing nails to attach the baseboards to the wall, and use quarter-round or shoe molding to cover the gap between the baseboard and the flooring.
Step 6: Clean and Maintain the Flooring
Once the installation is complete, clean the flooring using a vacuum or broom to remove any dust or debris. You can also use a damp mop with a mild cleaner to keep the flooring looking its best. Avoid using abrasive cleaners or excessive water, as these can damage the flooring.
In conclusion, installing laminate flooring is a relatively straightforward process that can be completed by most homeowners with a bit of DIY experience. By following these simple steps, you can enjoy the benefits of a beautiful, low-maintenance, and durable flooring option in your home.